Chair yoga makes gentle movement more accessible by keeping most or all of the practice seated. It can be useful for beginners, people with limited mobility, anyone returning to exercise, or those who simply prefer a low-impact routine. The sequence below combines breathing, mobility work, light strengthening, and relaxation without requiring you to get down on the floor.
Move slowly and comfortably. Chair yoga should not cause sharp pain, dizziness, numbness, or breathlessness. If you are recovering from an injury or have a health condition that affects movement or balance, ask a qualified healthcare professional whether these exercises are appropriate for you.
Prepare for Your Practice
Choose a sturdy chair that will not roll or slide. A chair without arms gives your legs and arms more room, but use the option that provides the safest support. Place it on a clear, level surface and sit toward the front of the seat with both feet supported by the floor. Keep your spine comfortably upright rather than forcing a rigid posture.
- Wear clothing that allows you to move freely.
- Keep your movements small at first, increasing them only when they feel comfortable.
- Breathe continuously; avoid holding your breath during a stretch.
- Use the chair back or seat for support whenever needed.
10-Minute Chair Yoga Sequence
1. Seated Centering and Breathing — 1 minute
Sit with your feet about hip-width apart and rest your hands on your thighs. Let your shoulders soften. Breathe in gently through your nose if comfortable, then exhale slowly. Continue for several relaxed breaths, noticing the contact between your feet, your seat, and the chair.
2. Seated Mountain Pose — 1 minute
Lengthen through the crown of your head without lifting your shoulders. Let your arms rest by your sides or place your hands on your thighs. Hold this comfortable upright position for a few breaths. This is a useful starting position for the rest of the sequence.
3. Shoulder Rolls and Arm Movements — 1 minute
Lift your shoulders gently toward your ears, move them back, and then lower them. Repeat several times, then reverse the direction. Next, sweep your arms forward and overhead only as far as feels comfortable. Lower them slowly. If raising both arms is difficult, alternate one arm at a time.
4. Seated Cat-Cow — 1 minute
Place your hands on your thighs. As you inhale, gently draw your chest forward and lengthen your spine. As you exhale, round your upper back slightly and let your chin move toward your chest. Keep the movement smooth and modest, especially if your back or neck is sensitive.
5. Seated Side Stretch — 1 minute
Place your left hand on the chair for support. Reach your right arm upward and lean slightly to the left, keeping both sitting bones as grounded as possible. Take two or three breaths, then return to center and change sides. Avoid collapsing forward or twisting as you lean.
6. Gentle Seated Twist — 1 minute
Place your hands on your thighs or the sides of the chair. Inhale to lengthen your spine. As you exhale, turn your chest gently to the right without forcing your head or pulling on the chair. Return to center and repeat on the left. Keep your hips facing forward.
7. Seated Forward Hinge — 1 minute
Place your feet firmly on the floor and your hands on your thighs. Hinge forward from your hips, keeping your spine comfortably long. Let your hands slide toward your knees or shins, stopping well before you feel strain. Press through your feet to return upright. Do not allow your head to drop heavily.
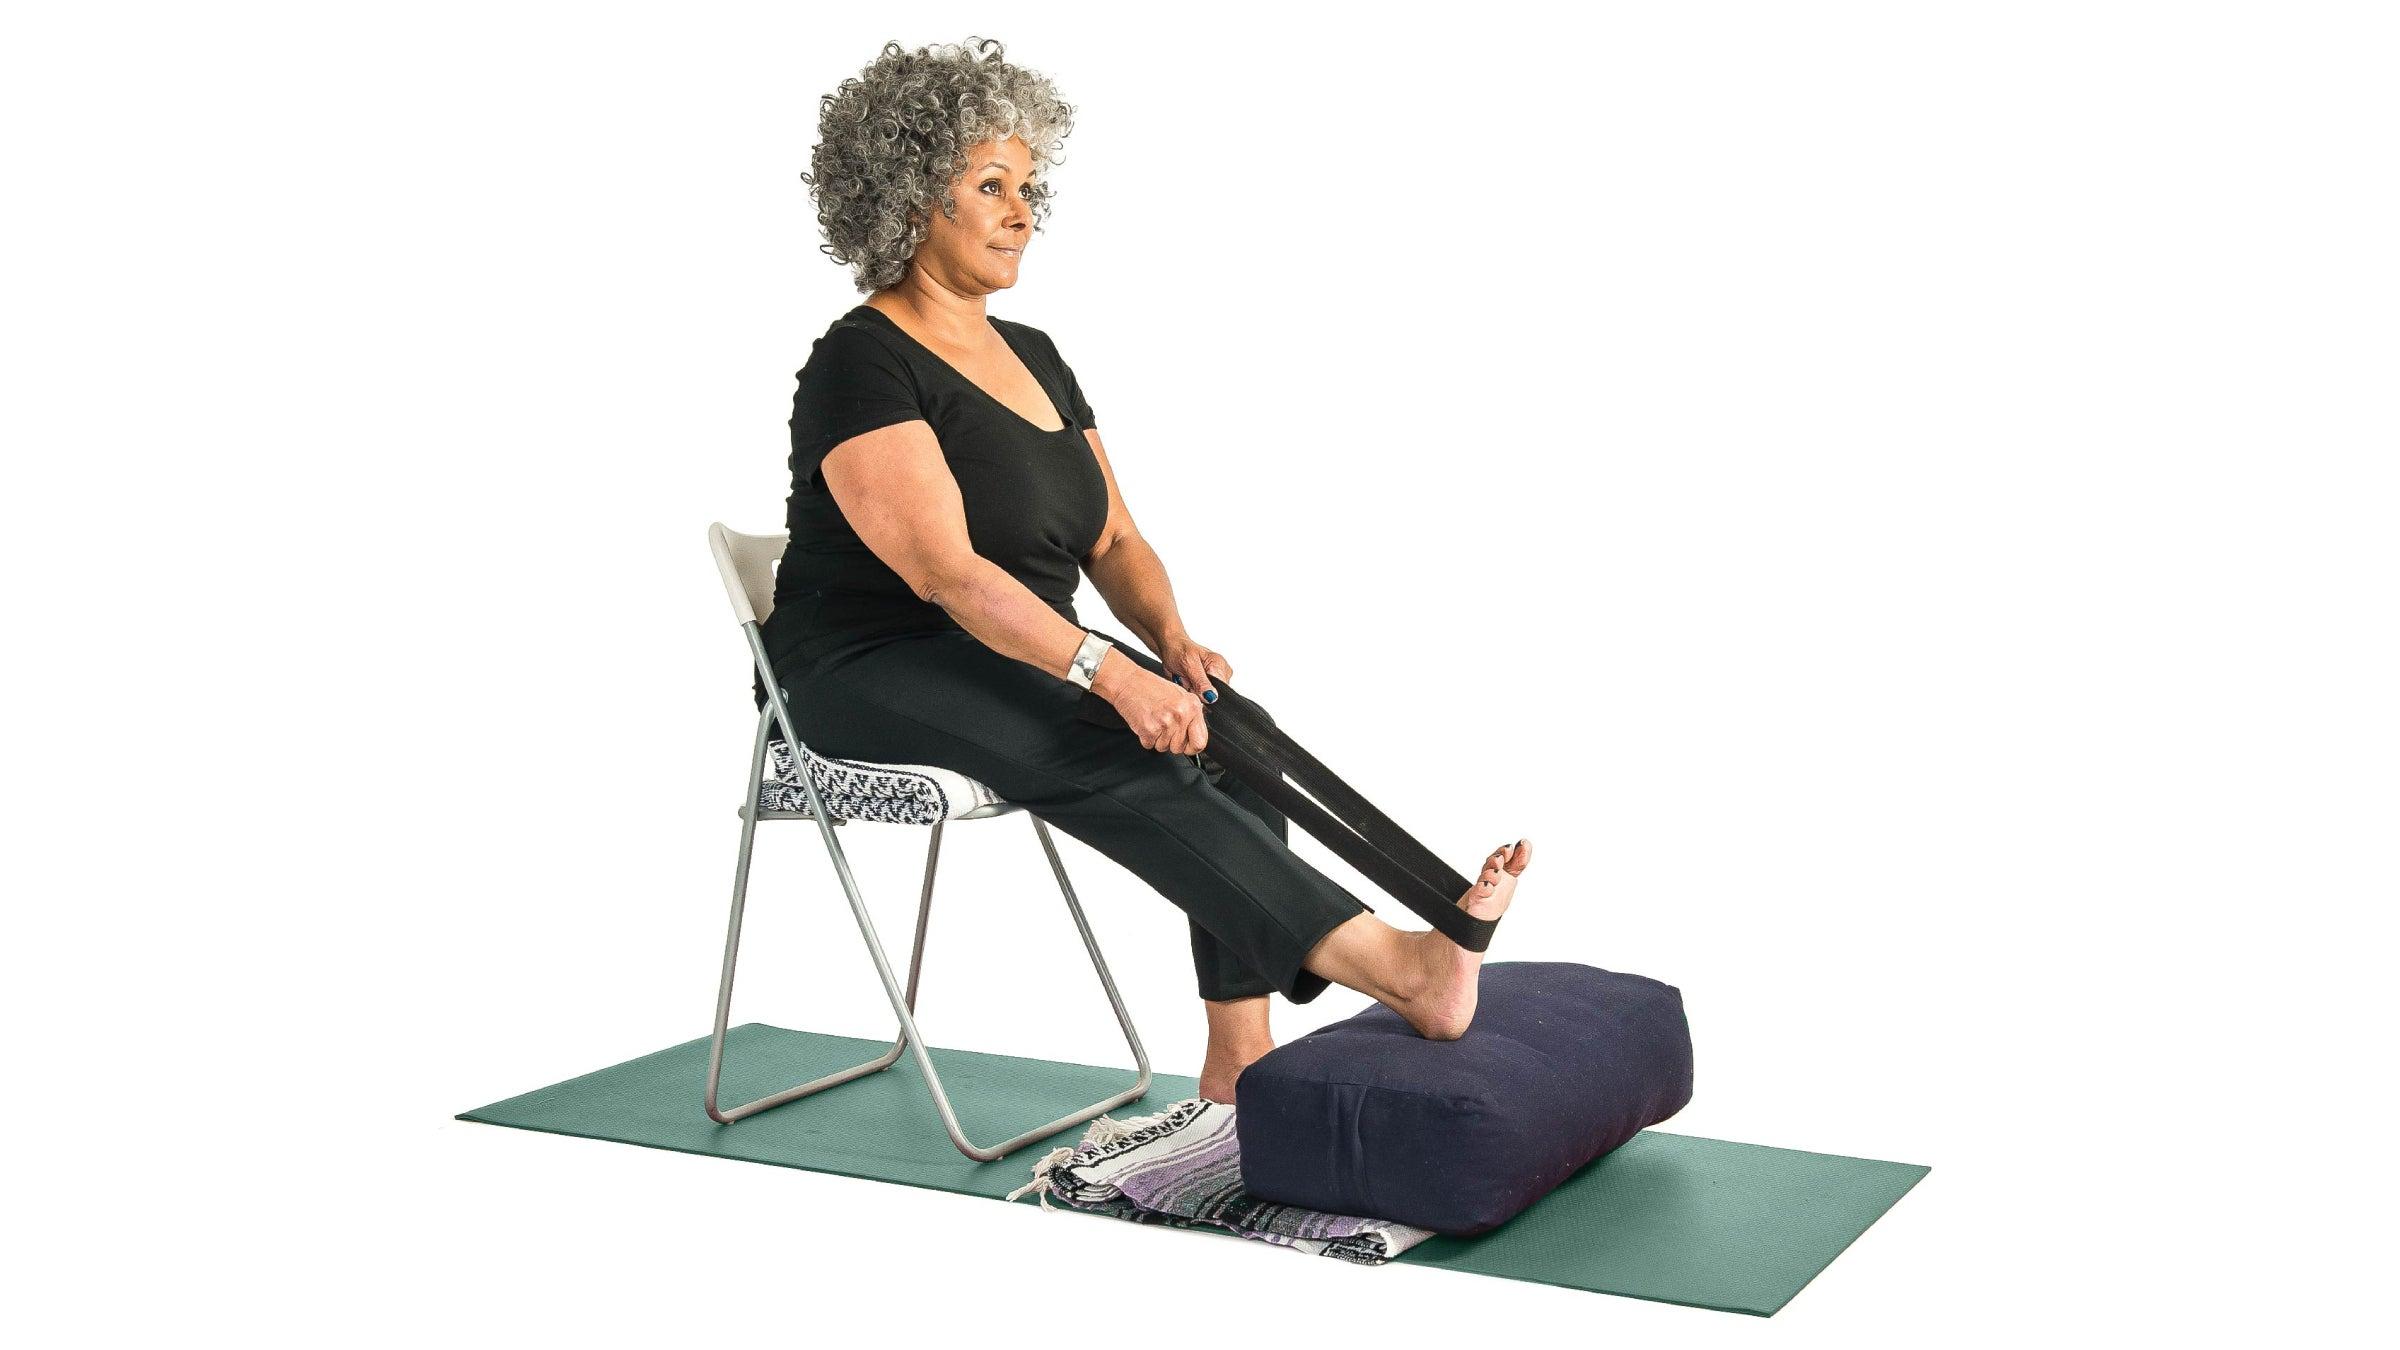
8. Leg Extensions and Ankle Movement — 2 minutes
Extend your right leg until it is as straight as comfortable, then lower it with control. Repeat on the left. Add a gentle point-and-flex of each foot, or make small ankle circles if that feels comfortable. Keep your movements slow and avoid locking your knees.
9. Closing Relaxation — 1 minute
Return to a comfortable seated position. Rest your hands on your thighs, soften your jaw, and allow your shoulders to relax. Take several unhurried breaths. Notice whether your posture, breathing, or sense of stiffness feels different from when you began.
How to Adapt the Sequence
You do not need to complete every movement or hold a position for a specific length of time. Shorten the session when energy is low, repeat a comfortable exercise, or pause between movements. If balance is a concern, keep both feet on the floor and avoid reaching beyond your stable range. A cushion may make the chair more comfortable, but it should not make you feel unstable.
Practising regularly at a comfortable intensity can help you build a mindful movement habit. The goal is not to achieve a deep stretch; it is to move with awareness, support comfortable mobility, and finish feeling calm rather than depleted.