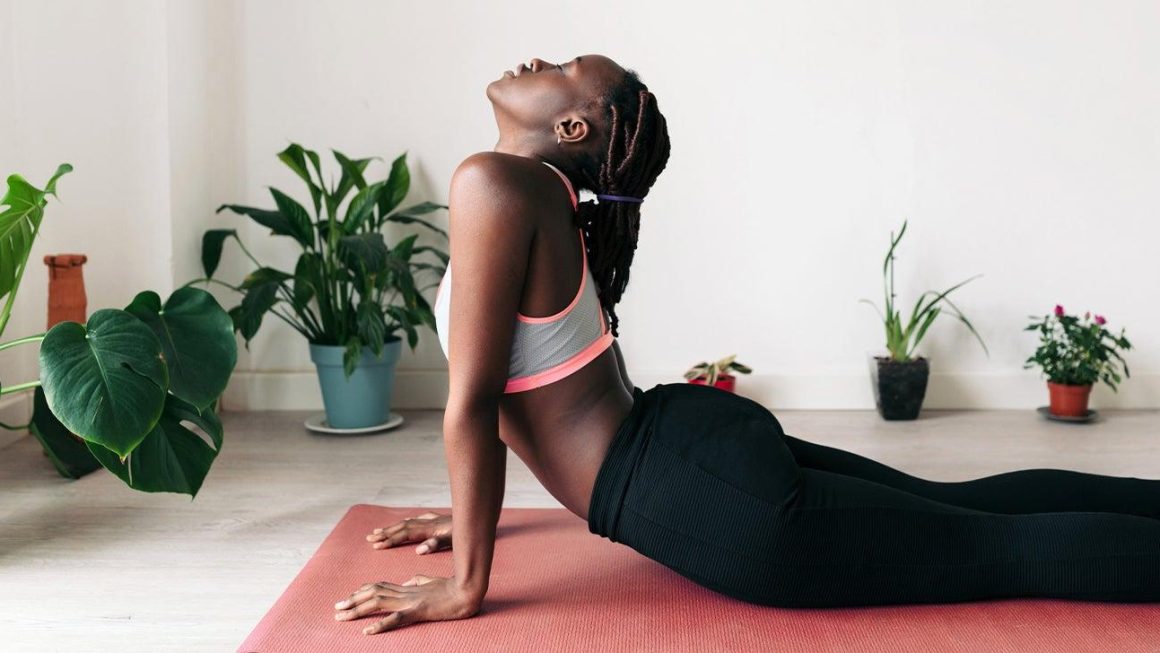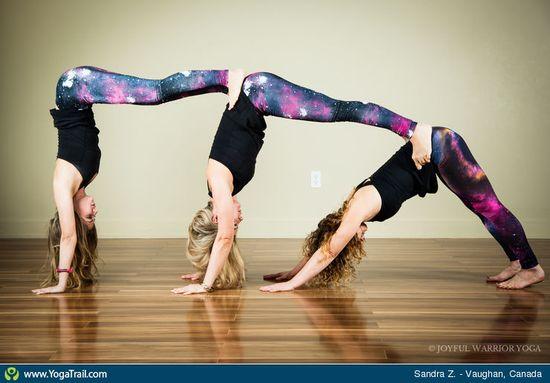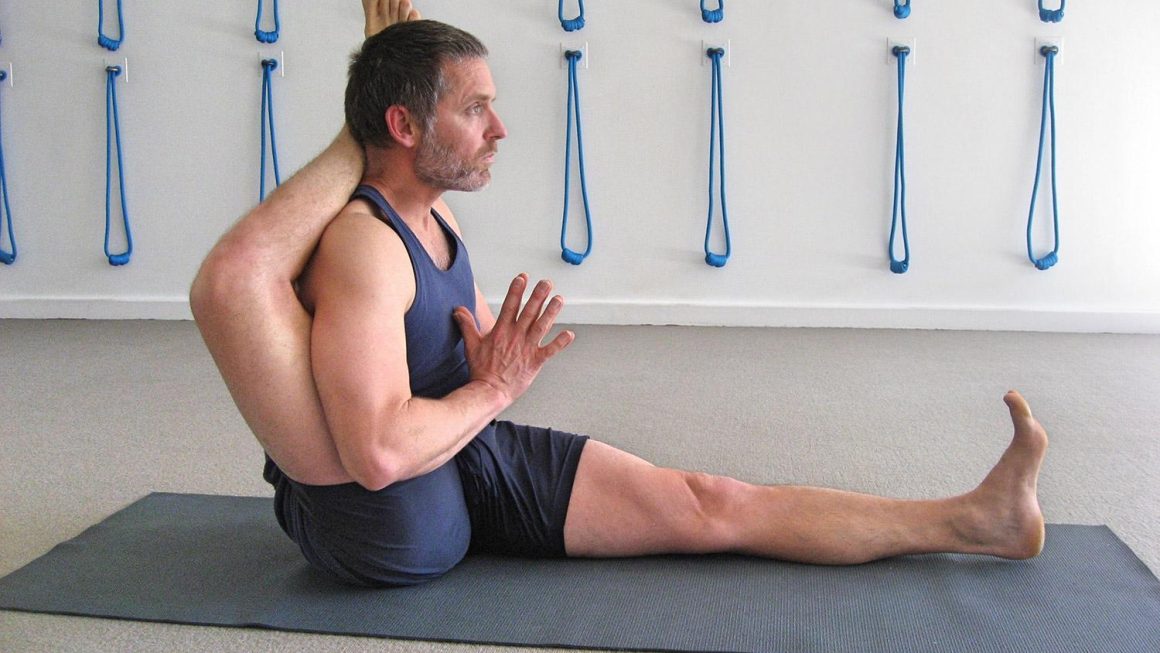
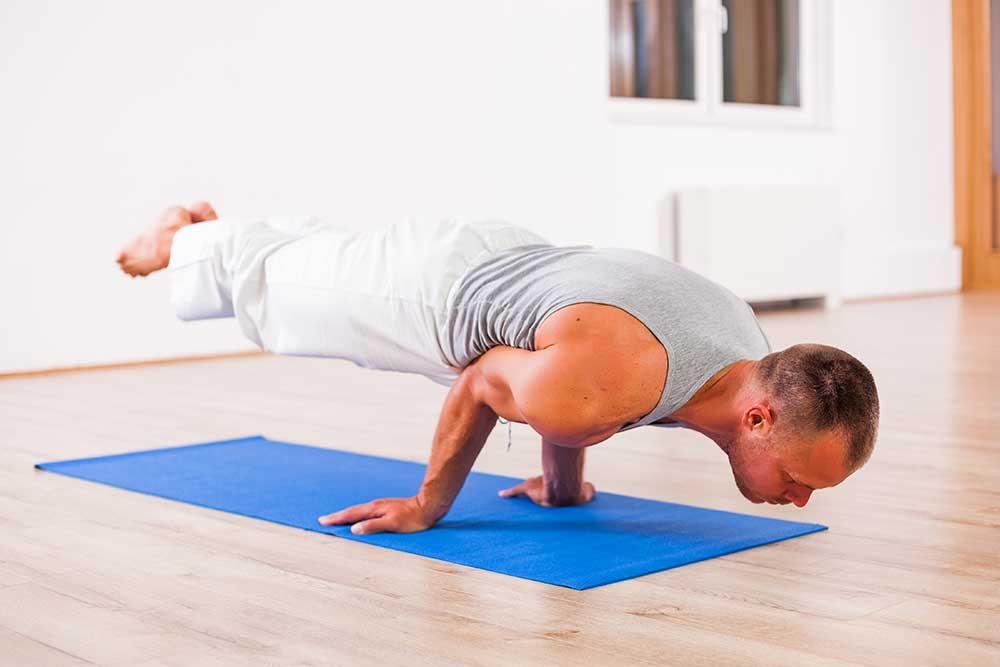
Challenging yoga poses can develop strength, balance, mobility, concentration, and confidence. They also require patience. A difficult pose is not something to force; it is a skill built through preparation, controlled repetitions, and a willingness to stop when your body signals that something is wrong.
The poses below can be practiced by one person, but “alone” should not mean taking unnecessary risks. Use a clear, stable practice area, remove nearby obstacles, and consider working with a qualified yoga teacher before attempting advanced inversions or deep backbends. A wall, blocks, and a mat can provide useful support while you learn.
How to Prepare for Advanced Yoga Poses
Begin with several minutes of gradual movement rather than attempting a demanding pose while cold. Your preparation can include wrist and shoulder movements, cat-cow, downward-facing dog, lunges, standing balance work, and gentle core exercises. The goal is to awaken the joints and muscles involved in the pose without exhausting yourself.
- Choose one main goal: Focus on a specific skill, such as pressing into the hands or stabilising the hips, instead of trying to master several advanced poses at once.
- Use props intelligently: Blocks can improve alignment, while a wall can reduce the fear of falling during inversion practice.
- Keep your breathing steady: Holding the breath often creates unnecessary tension and makes balance more difficult.
- Stop at sharp or painful sensations: Effort and muscular fatigue are different from pain, pinching, numbness, or strain.
- Finish with a cooldown: Gentle stretching and relaxed breathing help you transition out of intense work.
Hard Yoga Poses to Practice Alone
1. Handstand (Adho Mukha Vrksasana)
Handstand challenges the shoulders, wrists, arms, core, and sense of balance. Start in downward-facing dog and practise shifting your weight forward until the shoulders move over the wrists. From there, work on controlled, small hops rather than repeatedly kicking forcefully. A wall can help you learn the stacked position of hands, shoulders, hips, and feet.
Keep the fingers spread and press firmly through the hands. Avoid practising near furniture or in a narrow space, and learn how to come down safely before spending much time upside down.
2. Forearm Stand (Pincha Mayurasana)
Forearm stand places demanding work on the shoulders and upper body while requiring strong core control. Set up with the forearms parallel and the elbows stable, then walk the feet closer before attempting a small lift. Practising with the heels near a wall can help you develop the shoulder action without relying entirely on momentum.
Rather than collapsing into the lower back, press the forearms down and lift through the shoulders. If the elbows spread or the neck feels compressed, come out and reset.
3. King Pigeon Pose (Eka Pada Rajakapotasana)
This advanced variation combines hip mobility, a quadriceps stretch, and a deep backbend. Begin with a supported pigeon variation and make sure the front knee and hip feel comfortable before progressing. Keep the hips as square as your mobility allows instead of forcing the back leg into position.
Only reach for the back foot when the spine can remain controlled. Blocks or a strap may make the pose more accessible, and there is no need to bring the foot all the way to the head.
4. Scorpion Pose (Vrscikasana)
Scorpion pose builds on forearm-stand strength while adding a demanding spinal extension and leg position. It is one of the more advanced options on this list and should be approached only after you can control a forearm stand consistently.
Practise the shape in stages: strengthen the shoulders, explore a gentle backbend from a stable base, and use a wall if appropriate. Keep the movement slow and avoid throwing the legs overhead. Because the pose combines inversion and backbending, instruction from an experienced teacher is particularly valuable.
5. Wheel Pose (Urdhva Dhanurasana)
Wheel pose strengthens the arms and legs while opening the front of the body. Lie on your back with the knees bent and feet grounded. Place the hands beside the shoulders, fingers pointing toward the feet, then press into the floor to lift the chest and hips.
Work toward length through the spine rather than forcing the elbows or shoulders straight. A supported bridge pose and gentle shoulder-opening exercises are useful preparations. Come down with control and rest before repeating.
Build Progress Instead of Chasing the Full Pose
Advanced yoga is often less about achieving a dramatic shape and more about improving control. Track small changes such as steadier breathing, a longer hold, better alignment, or more confidence entering and exiting the pose. Short, consistent sessions are generally more useful than occasional attempts made with excessive effort.
Practise only when you feel alert enough to control your movements. If you have an injury, recurring pain, or concerns about your wrists, shoulders, spine, or hips, seek appropriate professional guidance before attempting these poses. The strongest practice is one that respects your limits while giving you room to progress.