Warrior Pose, commonly associated with the Sanskrit name Virabhadrasana, is a family of standing yoga postures rather than a single position. The three familiar variations—Warrior I, Warrior II, and Warrior III—develop different combinations of strength, mobility, balance, and concentration.
Although these poses can look powerful and expansive, good technique matters more than making the stance as deep or wide as possible. Work within a range that lets you breathe steadily and maintain control.
The three main Warrior poses
Warrior I: Virabhadrasana I
Warrior I combines a forward-facing hip position with a lifted chest and arms. It places emphasis on the legs while encouraging openness through the front of the body, including the hips, torso, and shoulders.
Warrior II: Virabhadrasana II
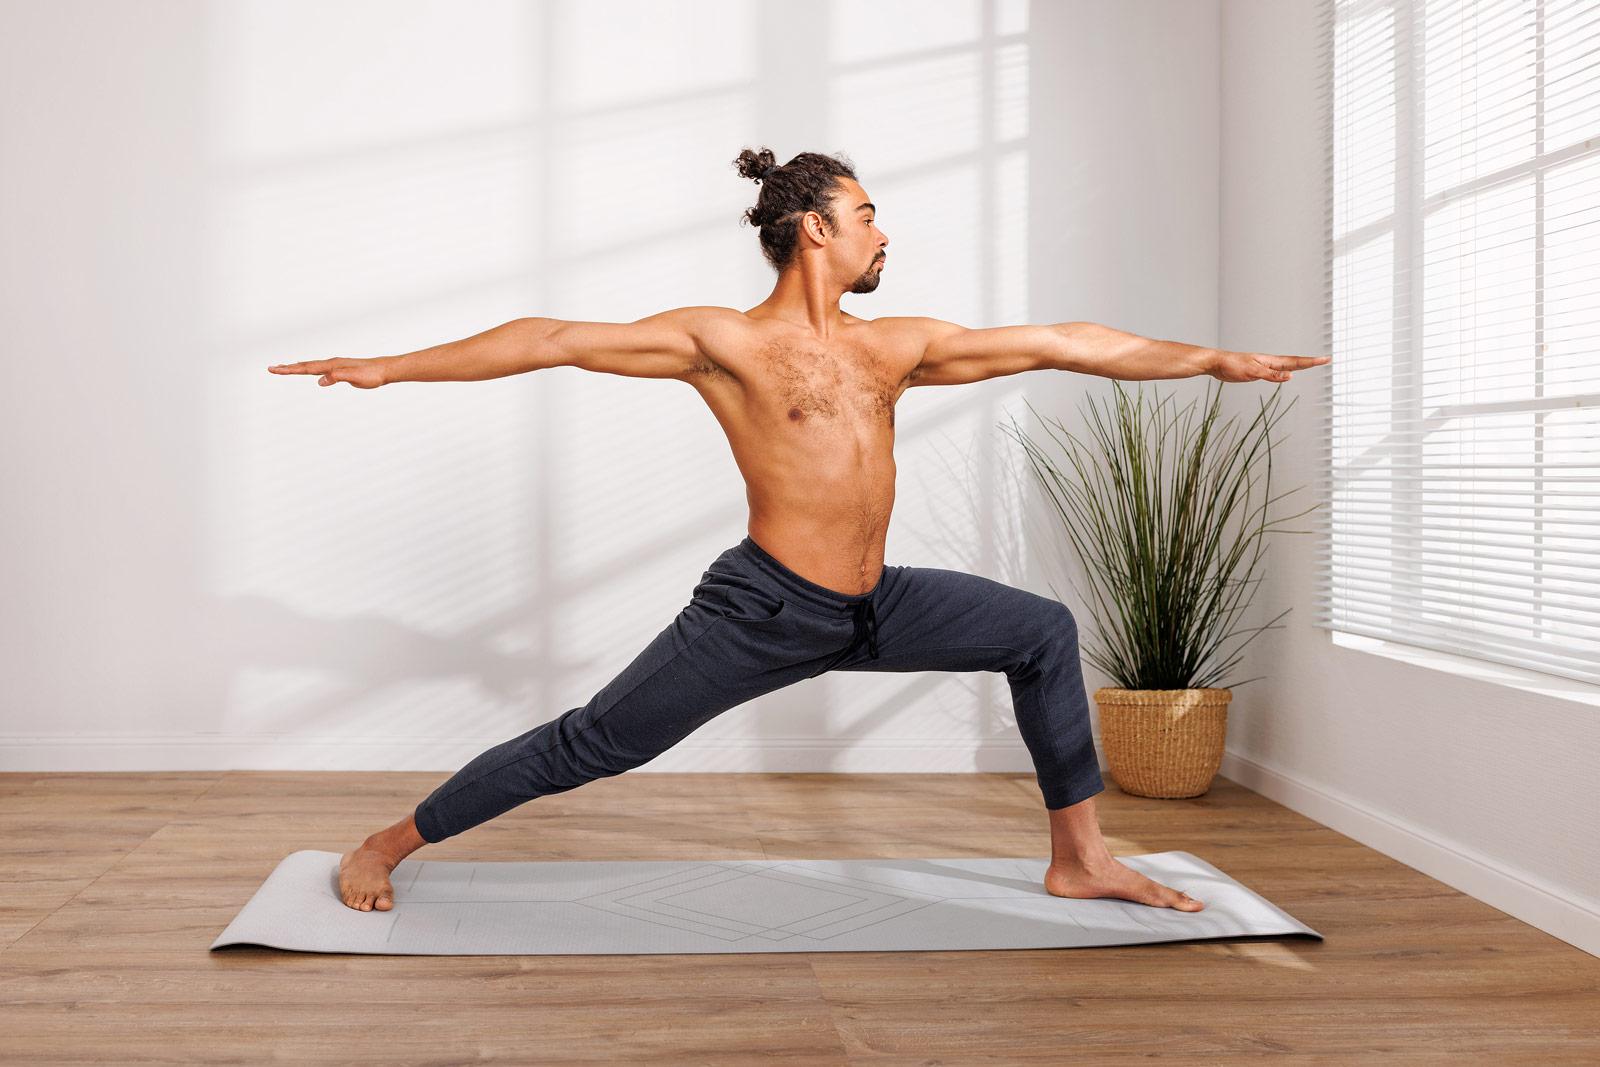
Warrior II turns the torso toward the long edge of the mat. The pose challenges the legs and encourages awareness of the relationship between the feet, knees, hips, shoulders, and gaze. Its broad arm position also makes it a useful posture for practising steady breathing and focused attention.
Warrior III: Virabhadrasana III
Warrior III is a balancing posture. One leg supports the body while the other extends behind it, creating a long line through the torso and raised leg. The pose demands concentration, core engagement, and coordination as well as leg strength.
How to practise Warrior I
- Begin standing with your feet comfortably apart. Step one foot back several feet and angle the back toes slightly outward.
- Bend the front knee while keeping the front foot grounded. Aim to keep the knee tracking in the same direction as the toes rather than allowing it to collapse inward.
- Turn the torso toward the front of the mat as comfortably as possible. The hips do not need to be forced into a perfectly square position.
- Lift the arms overhead, with the palms facing each other or turned slightly outward. Keep the shoulders relaxed away from the ears.
- Stay for several calm breaths, then straighten the front leg and repeat on the other side.
How to practise Warrior II
- From a wide standing position, turn one foot toward the short edge of the mat and angle the other foot slightly inward.
- Bend the front knee while pressing through the outer edge of the back foot. Keep the front knee aligned broadly over the ankle.
- Extend both arms at shoulder height, reaching in opposite directions. Keep the ribs from flaring forward and let the shoulders remain soft.
- Turn your head to look past the front fingertips only if this feels comfortable for your neck.
- Hold for a few breaths, then straighten the leg and change sides.
How to practise Warrior III
- Start standing and shift your weight gradually onto one foot. Keep a soft bend in the supporting knee.
- Hinge forward from the hips while lifting the other leg behind you. Try to lengthen the torso forward and the raised leg back.
- Extend the arms forward, out to the sides, or keep the hands at the heart. Choose the position that gives you the most control.
- Keep the hips as level as possible without gripping or twisting the lower back.
- Use a wall, chair, or fingertips on blocks for support while learning the balance.
Potential benefits
Practising the Warrior variations can engage the legs, hips, core, back, and shoulders. Regular work with these postures may also help you explore:
- Lower-body strength and muscular endurance
- Balance, coordination, and stability
- Mobility in the hips, thighs, groin, and shoulders
- Postural awareness and controlled movement
- Concentration through the combination of breath, gaze, and alignment
These poses can feel energising, but they should not require you to ignore pain or force a joint into position. The value of the practice comes from attentive movement, not from holding the deepest version of the posture.
Modifications and useful variations
- Shorten the stance: A narrower distance between the feet can make Warrior I and II easier to control.
- Reduce the knee bend: Keep the front leg less deeply bent if the hips or knees feel strained.
- Use support: Place a hand on a wall or chair in Warrior III, or use blocks when transitioning between standing poses.
- Try Reverse Warrior: From Warrior II, lift the front arm overhead while the back hand rests lightly on the rear leg. Avoid collapsing into the lower back.
- Change the arm position: Keep the hands at the hips or heart if overhead or extended arms create tension in the shoulders.
Practice tips
Begin with a brief warm-up for the ankles, hips, legs, and shoulders. Build each pose from the feet upward: ground the feet, align the knees, organise the hips and torso, then place the arms. Breathe continuously instead of holding your breath, and come out of the posture if your alignment becomes difficult to maintain.
Warrior Pose is best approached as a practice of strength and awareness. Whether you are working on a stable Warrior II or using support to explore Warrior III, prioritise steady breathing, clear alignment, and a stance that feels sustainable.